Pages

Sunday, July 20, 2008

Finger Lickin' Good....Chicken Butchering....

Little do they know!!

WARNING......GRAPHIC PHOTOS!!!!

Yesterday was THE day!! It was time to get rid of these meat chickens. Once they start attacking me.....that's it.....ON THE GRILL THEY GO!!!!

I came home from a trip and went to feed the chickens. Not a big deal until I was walking out of the pen and heard HIM.....the rooster was running after me and got my heal. I was freaked out!! So that's that....I don't need to deal with mean roosters.

Mean rooster...get ready to meet your maker!!

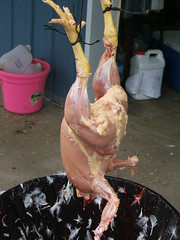
We have helped butcher chickens before, and watched a friend of ours do it. We've done it both ways.....where the chicken is put in a pot of boiling water then plucked and where the chicken is just skinned. We decided to just skin these chickens.....so much easier and we tend to take off the skins anyway.

We checked on the internet and found a few sites that helped us determine where to cut, etc. This is the main one we used http://www.backwoodshome.com/articles2/grim79.html.
This site had great info!! So here we have set up our butchering station!! LAPTOP and all!!:-)

Work area set up

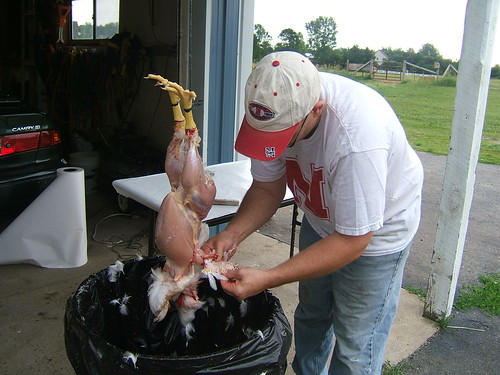
THEN.....OFF WITH THE HEADS!!

Head cut off!!

Having a degree in animal science I've witnessed a lot, but I've never personally witnessed the butchering of one OUR animals. So this was a first for me. After the first one was over with.....which was the MEAN ROOSTER......I was fine with the rest.

Hubby hard at Work1!

Skinned Chicken

Ewww!!


chicken feet

Utensils & chicken feet


Chicken!!

Chicken rinsed and ready to eat!!:-)

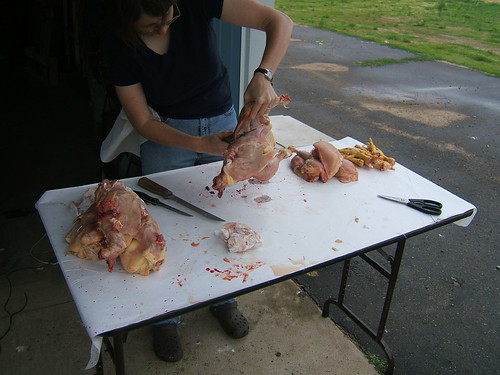
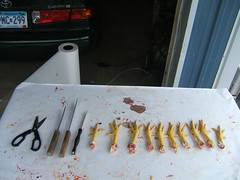
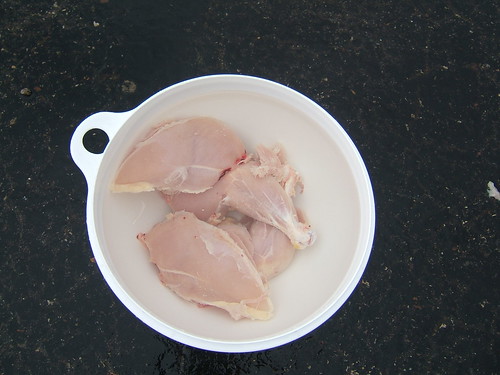
We ended up with 15 lbs of meat out of 5 Cornish Cross chickens----3 pullets, 2 cockerels. The males ended up giving me a ton more meat....so next time I'm buying all roos!! They are worth the few cents extra!

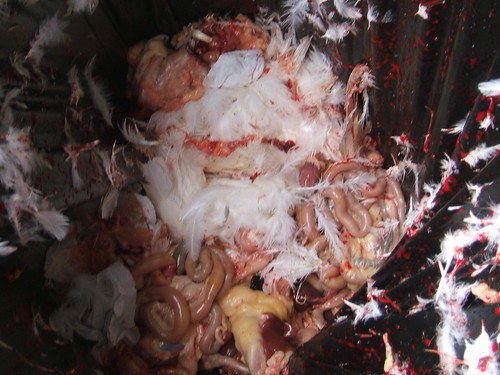
P.S......I have one more picture....but it's one my wonderful hubby took of the guts....or entrails for those out there that are trying to increase their vocabulary. If you're crazy....check it out here.

Friday, July 11, 2008

Quilt Surgery.....

Somehow.....someway......this grease spot magically appeared on the corner of the quilt I'm working on!!:-( Mr. NOT ME did it.....I'm sure your house has one too!!)

Thankfully I found a scrap that would work to replace the damaged piece. So.....

"Seam ripper" ....check!

"Thread".....check!!

"Needle"......check!!

"Ma'am.....the surgery was a success....thankfully the piece that needed to be replaced was in the corner....not the center....so.....you will have this quilt for many more years to come!!":-)

Saturday, July 5, 2008

My Coloring Purse......


I was able to finish this little coloring purse in a little over a day!!! The pattern came together easy enough, but I did make a couple mistakes.....like putting the loop on the wrong side, and cutting on the bias (per the instructions) but should've cut with the grain to get the striping effect. Oh well, lesson learned. I did shorten the strap because my daughter wanted it shorter....but it can go at least 12 inches longer!!


One thing I would have changed on this pattern is the corners.....I think I'll round them next time instead of cutting off the corners.

Pattern: My Coloring Purse by Clothesline Quilts
Fabric: Fresh Squeezed by Sandy Gervais for Moda

Thangles revisited.....

O.K....this is what I've learned about using Thangles.


First, is that chain linking Thangles is very easy and should be done. I knew this already, but just thought I'd state it again!!


This is a NEW discovery.......don't sew exactly on the dotted line!! You want to sew a hairs length into the seem allowance so that once you've ironed them out they will be the size you want or slightly bigger so they can be squared up. I found it was hard to do this, however, so what I ended up doing was using my quarter inch foot. I used the SOLID LINE as my guide. By keeping the edge of my 1/4" foot on the solid line I was achieving the effect I needed. So if you find your Thangles not coming out quite as you'd like....this may be the trick you need!!!

You can see the scant 1/4 inch seam in this picture!!
Related Posts Plugin for WordPress, Blogger...